What Lifeguards Need to Know Before Performing CPR on Kids
As part of your lifeguard training, you’ll learn how to rescue swimmers in danger and become certified in CPR. In the event that a swimmer isn’t breathing, you will need to perform CPR immediately. Brain damage can occur after just four minutes without oxygen and death can occur four to six minutes later, so being able to act quickly until medical help arrives is crucial.
However, performing CPR on a child is slightly different than performing it on an adult. Here’s what to do when a child needs help:
1. Check if the child is alert.
See if the child makes a noise when you tap or gently shake him. Ask the child if he’s okay and see if he responds. If so, you likely do not need to do CPR. Find out what happened and get medical help if needed. If there is no response, the child is likely unconscious, and lifesaving measures are necessary.
For infants less than a year old, tickle or pinch them to assess whether they’re alert or not. Avoid shaking babies in any way.
2. Yell for help.
As we covered in our post about 911 protocols, someone should remain with the injured person at all times. Call 911 immediately if you saw the child collapse. If not, ask another lifeguard to be ready and waiting to call 911 after two minutes of rescue breathing, and to have the pool’s automated external defibrillator (AED)on hand, in case you need it. Before you begin administering care, attempt to get consent from the child’s parent or guardian, if possible.
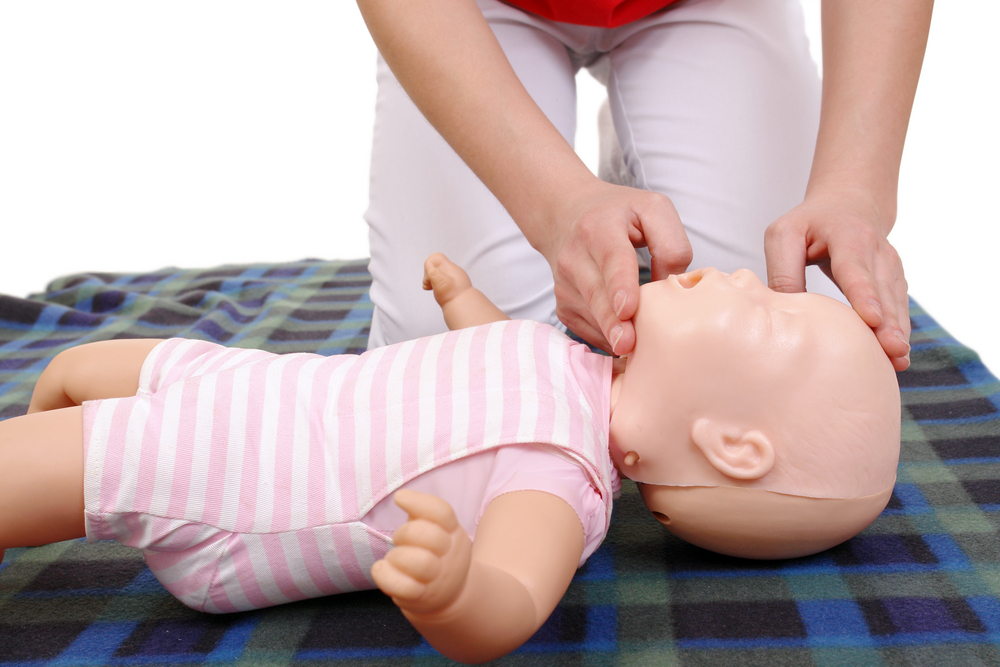
3. Check for signs of breathing.
Place one hand on the child’s forehead and use two fingers (placed at the chin) to gently tilt the head back and open the airway. On infants, tilt the head only a little, assuming what is known as the “sniffing position” (which looks like the baby is sniffing the air). Look for signs and sounds of normal breathing, such as chest movement or feeling breath on your cheek. If the child is unresponsive and not breathing, begin rescue breathing right away. If the air does not go into the child, check for obstructions.
At this point, if the child is not on his back already, you will need to put the child in the face-up position to perform rescue breathing. Be extremely careful in case there is a chance of a spinal injury — always use two hands to make sure the child’s head and neck do not twist. If you suspect a spinal injury, don’t move the head and neck at all.
4. Check for a pulse.
If the child remains unresponsive, keep the airway open as you check for a pulse at the cartoid artery on either side of the neck. Use the brachial artery, located between the arm pit and elbow, on infants less than a year old. Spend 10 seconds checking for a pulse. If you detect a pulse, continue with rescue breathing. Begin CPR right away if no pulse is detected.
5. Perform CPR.
Kneel beside the child and place the heel of your hand on the breastbone at the nipple line. Positioning your hand too low on the sternum can cause death, so take extra caution here. Place your other hand on top and press the chest gently and quickly 30 times in a row, 2 inches deep. For infants and small children, make the compression slightly less than 2 inches. When you reach 30, tilt the head back and give 2 breaths. Repeat the cycle until the child regains consciousness and you can detect a pulse. Use the AED if needed and continue lifesaving until the EMS arrives.
Since many of your swimmers will be children, it’s important to make sure you get your CPR training down pat and feel confident knowing what to do in case of emergency. Of course, the best practice is to remain vigilant and watchful on your shift and be proactive about preventing accidents in the first place.
For more information about lifeguard training, check out and register for our training courses today.